
This week I’d like to discuss Cables. They look difficult, they’re gorgeous, but SUUUPER simple. As one very awesome Lady told me, trust your pattern. But if you’re anything like me they can seem difficult and a bit confusing.
My biggest issue with cables was twisting the stitches and not knowing which order to knit them in, but using a straight needle as your cable needle fixes this problem and once slipped back onto your working needle, you wont have to worry about which order they go in.
To start off you will need The needles you plan to knit with, for this lets say size US 8(5 mm) and 1 straight or double pointed needle a few sizes smaller, I’d go with a US 5 (3.75 mm) or even a US 6(4.25mm). I absolutely recommend using a straight needle until you are completely comfortable with cables. This also prevents the stitches from falling off your needle like they would with a DPN.
Now you will start by casting on 14 stitches. We will be working a Cable 6 Front or C6F. This makes a cable that moves to the left.
Knit a few rows in Stockinette. Row 1 knit, row 2 purl, row 3 knit, row 4 purl, ect.
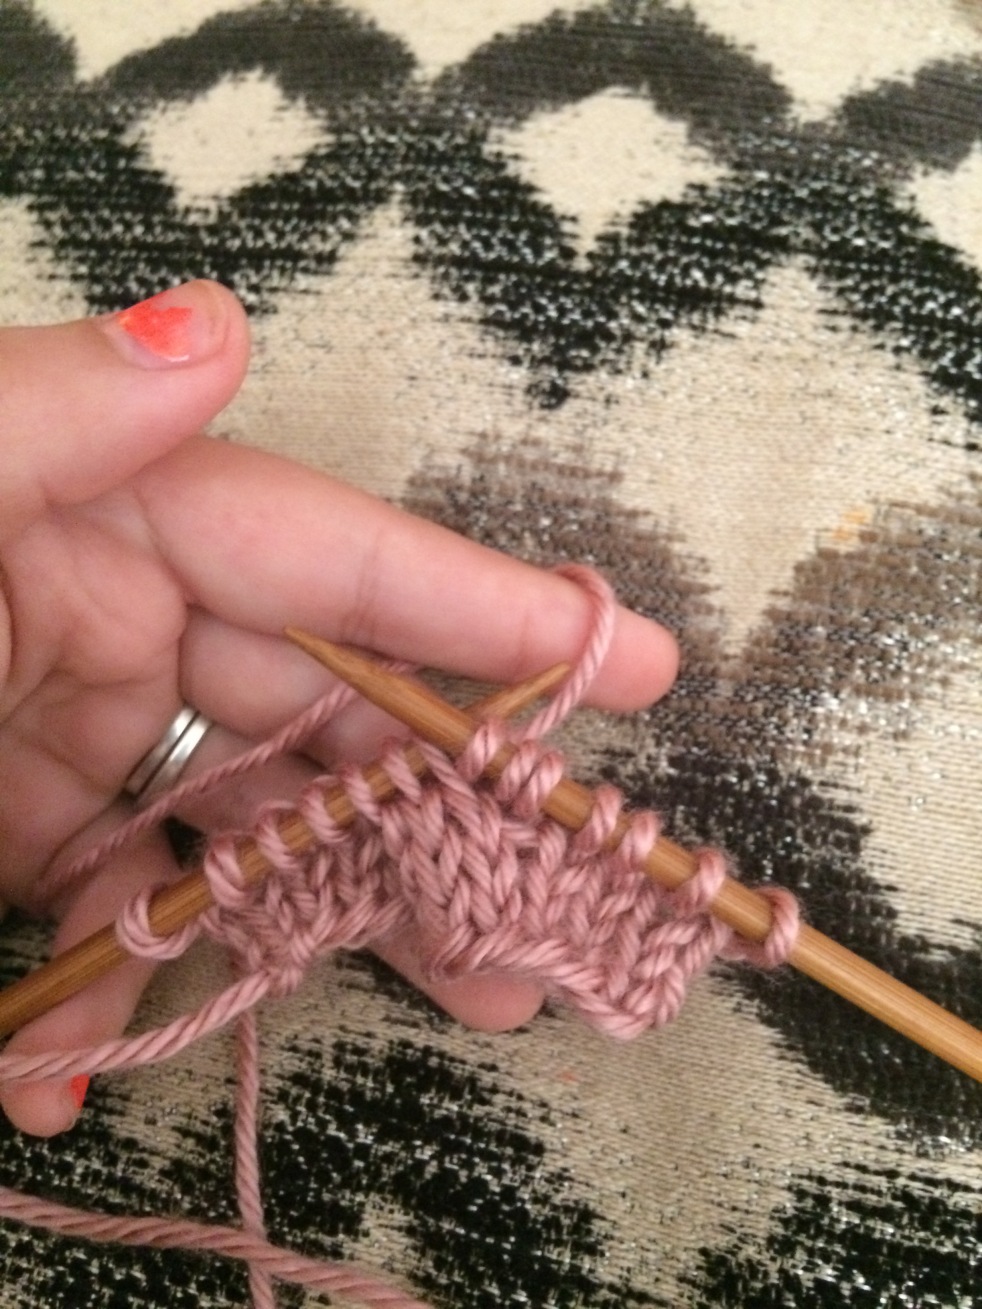
On your next Knit row you will knit 4, Now we will do the C6F. Slip the next 3 stitches onto your DPN or straight needle and keep them in the front of your work(this makes the cable turn left, putting it in the back would make it turn right).


Next knit the next 3 stitches. Now without twisting the stitches on your cable/Straight/DPN place them back onto the left needle and knit them.
Next knit the remaining stitches.
Your next row you will purl, and now you have completed a cable. Practice this way for a while, cabling your knit row after 5 rows of stockinette.
I will have my 14 Stitch cabled scarf up soon. It’s huge and fluffy and perfect for a beginner cable pattern.

One thought on “Cables for Beginners”